Sunday, September 16, 2012

Lemon Lavender Fro Yo Pops

Lately, I've been wanting to try making my own frozen yogurt. I've also been wanting to cook with lavender, one of my favorite aromas/flavors. Today seemed like a good day to do so. Still warm enough to enjoy a frozen treat, but cool enough to make me long for warm summer days in southern France.

If you're going to make frozen yogurt, you have a couple of choices. You can either churn it in an ice cream maker or you can make it into yogurt pops. As I didn't much feel like hauling out the ice creamer maker, and I just got some popsicle molds from Ikea, you can guess which option I went with. I must say, they turned out pretty well for a first attempt.


The unexpected ingredient in this recipe is the lavender. You can buy food-grade lavender buds online from places like the Spice House and other specialty stores. Also, you generally have to grind it before using it. I purchased a bag of lavender buds in southern France and ground some of them in my Cuisinart this afternoon.
The buds are on the right, the ground lavender on the left.
Lavender is lovely in cakes, frostings and ice cream, as well as in any savory recipe where you would normally use rosemary. Like many herbs, a little goes a long way. It certainly turned out great in this recipe.

Lemon Lavender Fro Yo Pops
Makes 6 pops
51 calories per serving

Ingredients:
1 1/2 cups plain low-fat yogurt
1 tbsp lemon zest
1 tbsp lemon juice
2 tbsp honey or other sweetener
1 tsp ground lavender buds
2 drops purple food coloring (optional)


Directions:
1. Zest the lemon, then cut it in half and squeeze out 1 tbsp of juice.

This is the part where I show off my awesome citrus zester.
It captures the zest in a little compartment!
2. Combine all ingredients in a food processor or blender. Mix thoroughly.


While the purple food coloring is optional, it definitely gives that pretty lavender color.
3. Pour mixture into molds and freeze for 1 1/2 or 2 hours, or until solid. If you don't have molds, Dixie cups and popsicle sticks will do the trick!


See how easy that was? Now you have a low-cal treat for your sweet tooth!

Next time I make fro yo pops, I might try adding in a little bit of fat to make them more creamy, or sweeten them up some. There was a lot of acid and tang in these pops, which I personally like, but would maybe add some date sugar to balance it out.

This recipe is very versatile with flavor combinations. Next time I think I'll try chocolate and orange zest or blackberry jam and almond butter. The possibilities are endless!

Spaghetti Squash Alfredo

Everybody loves fettucine alfredo. I mean, what's not to love? Thick, buttery, creamy, garlicky cheese sauce over chewy, delicious pasta. While everyone loves eating it, no one likes how fattening it is. This is why I have concocted a lightened-up version of this Italian classic using spaghetti squash and Laughing Cow cheese.


Let's put things in perspective: one serving of Olive Garden's fettucine alfredo is 780 calories. My version is less than half that at 342. Olive Garden's also has 125 grams of carbs while mine has only 18. The secret is substituting spaghetti squash for the pasta and Laughing Cow cheese and almondmilk for the heavy cream. But don't worry, this recipe still contains the important parts of alfredo: lots of garlic, a little butter, and parmesan cheese.

So let's get to it!

Spaghetti Squash & Laughing Cow Alfredo
Makes 2 servings (plus a little extra squash)
342 calories per serving

Ingredients:
1 large spaghetti squash
1 tablespoon butter
6 cloves of garlic, minced
1 cup unsweetened almondmilk (or other low-fat milk)
6 wedges garlic and herb Laughing Cow cheese
1/2 cup shredded parmesan cheese
salt, pepper and nutmeg to taste (I probably used 3/4 teaspoon each)

Directions:
1. Use a knife to poke holes all over the squash, then nuke it in the microwave for approximately 12 minutes or until slightly soft to the touch.
2. Once the squash is ready, remove it from the microwave--it will be very hot!--and let it stand for a few minutes.
3. When it is cool enough to touch, slice it in half lengthwise.


4. Scoop out the seeds and throw into a bowl. You can either trash this or roast the seeds.


5. Using a fork, scrape out as much of the spaghetti-like strands of squash as you can. Continue until you have enough or until you get bored of scraping.


6. Put your "spaghetti" in a large saute pan and heat over medium-high heat for 4-6 minutes to evaporate the excess moisture. I added a few dashes of salt for good measure. Then turn off heat and begin the alfredo sauce.


7. Add the butter to a saucepan and let it melt until it is bubbling. Saute the minced garlic until fragrant, 1-2 minutes.
8. Add in the almondmilk and bring to a brisk simmer.
9. Unwrap all 6 wedges of Laughing Cow and add them in, using a whisk to break them up and get them melted into the sauce.


10. Add the salt, pepper and nutmeg and whisk to incorporate.


11. Once the sauce is smooth, add in the parmesan bit by bit to ensure it is fully integrated.
12. The sauce should be a fairly thick consistency at this point, enough to coat a spoon. If it is too thin, let it simmer a few minutes longer. If it is too thick, add more milk. Mine got pretty thick, but I prefer it that way.


13. Serve by plating a cup of the squash, half the alfredo and a sprinkling of parmesan and/or parsley. Then enjoy your low-cal version of an indulgent meal!


I'm glad I have begun experimenting with spaghetti squash. I love pasta and all Italian food, but the carbs and calories of pasta aren't the best thing for a girl who's watching what she eats. By tricking myself with a spaghetti-like vegetable, I can control the calories I'm consuming and get more nutrition while enjoying some of my favorite Italian goodies!

For instance, this squash would be equally tasty with some low-cal marinara, a quick tomato, mushroom and zucchini sauce or some basil pesto. The possibilities are as endless as they would be with regular pasta! I'm definitely looking forward to lightening up more pasta dishes with this useful seasonal veggie, and I hope you are too.

Thursday, September 6, 2012

Caprese Flatbread

With the weather cooling down and the leaves beginning to fall, we're all clinging to the last days of summer. Though I love autumn, I will be sad to see some of the summer foods go. Most of all tomatoes, which I love every which way and can't get enough of.


Anyone who knows me well will be able to tell you my favorite tomato dish: caprese. Who can beat the simple deliciousness of tomatoes, fresh mozzarella and basil? This classic has always had a place in my heart, and if I don't have the time or energy to whip up something more complicated, this is the go-to. A caprese salad probably takes less than 5 minutes to make, and it's always so good!

This recipe is only marginally less quick and easy than a caprese salad. With a few more ingredients to really make it a meal, this caprese flatbread is great for lunch or an appetizer.


Caprese Flatbread
Serves one for lunch or a couple for apps
Calories: 365

Ingredients:
1 Flat-Out (Multigrain with Flax is only 100 calories!)
1 tomato (I used a combination of red and yellow for the color)
3 ounces fresh mozzerella, cubed
A handful of basil leaves
A few dashes pizza seasoning of your choice (a garlic and herb one would work)
3 tablespoons balsamic vinegar


Directions:
1. Heat a grill pan on high heat for several minutes.
2. Add the balsamic vinegar to a small saucepan and simmer on low heat until reduced by half; it will become thicker, sweeter and more syrupy.
3. While the pan is heating and the vinegar is simmering, chop your tomatoes, mozzarella and basil. For presentation, I cut my tomatoes into triangles and my basil into thin strips (a.k.a. chiffonade).
4. Throw the Flat-Out onto the grill pan for a few minutes on each side, or until it is crispy and has grill marks.


5. Add the cheese and pizza seasoning to the flatbread and allow it to melt for a minute.


6. Top with the tomatoes and basil and drizzle the balsamic syrup over the whole thing.


7. Using a tongs or spatula, gently transfer the flatbread from the grill pan onto a clean board. I was not so gentle and ended up with balsamic all over my tank top (thank heaven for OxyClean).


8. Use a pizza cutter to slice it up any way you want!


Finito! Molto bene.

See? That was about as easy as it gets. With a little bit of fancy presentation and a few simple techniques you turn the most basic salad possible into a beautiful, yummy meal. This is one I'll be making until the tomatoes are all gone!

Sunday, August 26, 2012

Hummus & Veggie Pita Sammies

Today, I'm really writing about two recipes: Israeli Hummus and Hummus & Veggie Pita Sammies. To make the latter, we must first make the former. Unless you want to go out and buy hummus. But fresh is definitely better, and you'll see why.


To make the hummus, I am proud to host a sort of "guest blogger:" my dad. I don't know if he counts as a guest blogger because he's not actually writing, seeing as his typing skills are woefully inadequate, but he is the man behind the recipe.

And my mother is the woman behind the man.
 
Let's talk about hummus. Although there is zero Mediterranean or Arab heritage in my family, my father and I both share a penchant for the cuisine. We love it all: falafel, tabbouleh, kebab, you name it. I can honestly say, however, that I have not always been a lover of hummus. In fact, I didn't even start eating the stuff with any regularity until recently--that is, until my dad started making it. He found an Israeli recipe for it online and started making it pretty much every weekend. 

Warning: once you make this, you will never want to eat pre-packaged, store-bought hummus ever again. This stuff is way better fresh. Plus, it's a pretty simple recipe. As long as you have a food processor or a sturdy blender, you're ready to make the best hummus you've ever tasted.

Israeli Hummus
(or as my dad calls it, "The Holy Hummus")

Ingredients:
1/2 pound dry chickpeas/garbanzo beans
6-7 cloves of garlic (more if you like it really garlicky)
1/2 cup olive oil
1/2 cup tahini (sesame seed paste)
Juice of 1 1/2 lemons
1 teaspoon ground cumin
1/4 teaspoon kosher salt

Directions:
1. Wash and soak the half-pound of chickpeas in a pot overnight. It's better to use dry instead of canned, pre-cooked chickpeas because they retain more nutrients and have a better flavor.
2. The next day, drain and rinse the chickpeas, then refill the pot with enough water to cover the chickpeas by a couple of inches. 
3. Bring the chickpeas to a boil then reduce to a simmer for an hour, uncovered. If the water level gets too low, add more water.
4. In the meantime, take the tahini out of the fridge and let it come to room temperature. It's impossible to work with otherwise.
5. Once the hour has passed and the chickpeas are tender, they are ready to party! Before you drain the pot, reserve 1/2 cup of the cooking liquid.


6. Prepare the garlic cloves by peeling off most of the peel but not all, then chopping until fine. You also want to use fresh garlic for the same reason as the chickpeas: more nutrition and better flavor. 
7. Add the chopped garlic to the 1/2 cup olive oil. Don't know why, this is just the way the old man does it.

Don't question it.

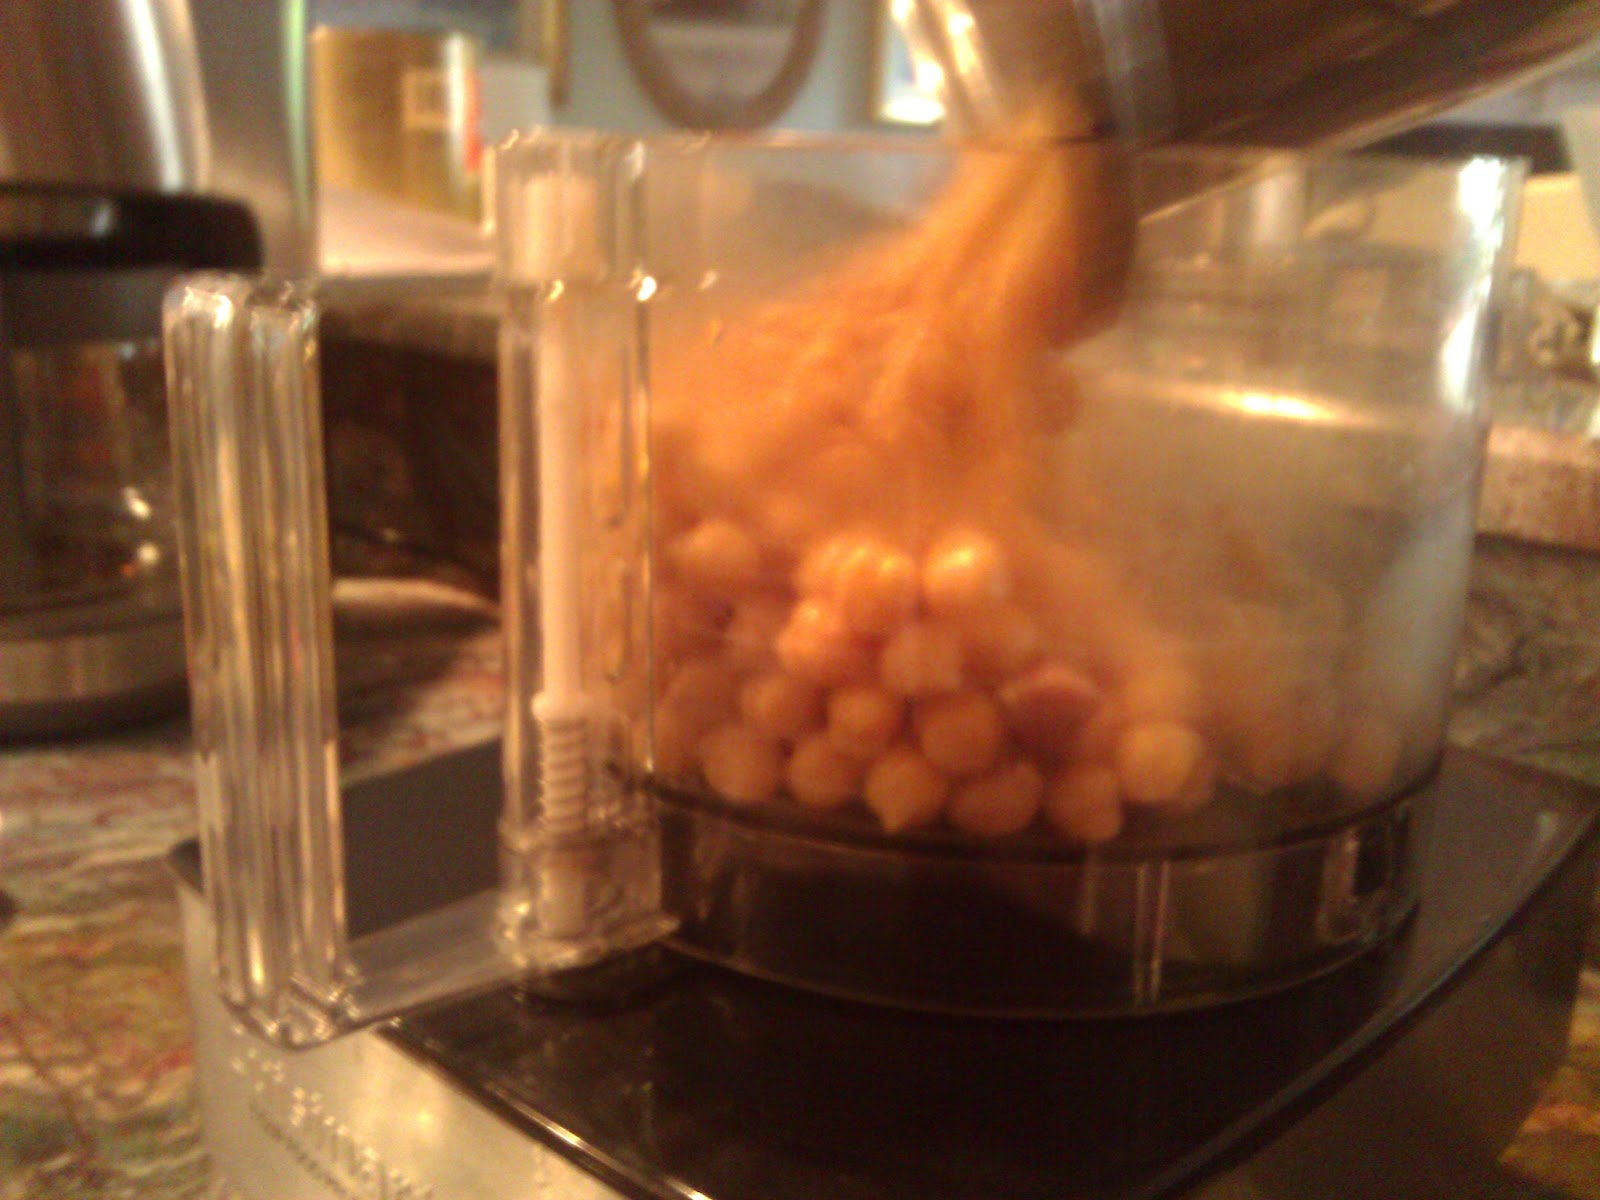
8. In the food processor, combine the chickpeas, their cooking water, garlic and olive oil. Puree until smooth. 

Action shot!

9. Now add the tahini, lemon juice and spices. Puree again. Be sure to smell the garlic while you do so. It enhances the experience.


10. Taste it to make sure it's good. Don't worry, it will be.


11. Serve by spreading on a sandwich, as I will below, or as a dip for pita, crackers, carrots, cucumber, etc. For a really authentic experience, sprinkle sumac over the top. 

...and that's how you make fresh hummus. Trust me, the fresher the better when it comes to this stuff.

Now that we have our hummus, it's time to make healthy pita sammies to take to work. I originally got the idea for this sandwich from Deli Seven 20, one of our office's favorite lunch spots. It's a simple concept, though: a healthy veggie sandwich with hummus instead of mayo and pita instead of bread. I used a combination of my favorite raw veggies, but feel free to use whichever veggies you like! The name of the game is how many veggies you can crowd onto one pita sandwich. 

Hummus & Veggie Pita Sammies
Makes 1 sandwich
Calories: 222

Ingredients:
3 tablespoons Israeli Hummus
6 slices cucumber
1 slice of a large tomato
1/4 of a red pepper
1/4 c. spinach
1/4 c. shredded carrots
1 whole wheat pita 

So many veggies!

Directions:
1. Slice the cucumber, tomato and red pepper however you like. Since my tomato was so humongous, I used one slice of it cut into strips. 


2. Cut the pita bread in half and open up the pockets. What I soon learned is that there are only so many veggies one can stuff into a pita pocket before it ceases to become a pocket. I addressed this issue by slicing open the pockets to make more room, giving me 4 pita slices.
3. Spread the hummus onto all 4 pita slices, then top 2 slices with as many veggies as you see fit. Finish by topping with the remaining pita slices.


4. Serve by itself or with some fruit. 

There you have it! Protein, whole grains and veggies for a filling, nutritious lunch. Plus a ton of fresh hummus to eat a myriad of ways. If your house is anything like mine, you better eat that hummus before someone else does!

Thursday, August 23, 2012

48-Hour Juice Cleanse Challenge

Hello again, everyone! I am loving this beautiful, cooler weather--it's certainly getting me in the mood for autumn, my favorite time of year. Time for leaves and pumpkins and sweaters, oh my!

Anyway, as I said in my last post, I've been transitioning into a new, healthy lifestyle. I've been eating healthier, staying more active and trying new things. One of these new things was a juice cleanse, or a juice detox. The concept is to consume only raw fruit and vegetable purees and juices over some period of time, usually 2-4 days, which cleans out your digestive system, rids your body of toxins and essentially pushes the "reset" button on your body. I'd been hearing a lot about them, so I thought I'd give it a try.

Look scary?

The verdict: not so bad.

Here I am, at the end of two days of a straight liquid diet, and I can honestly say I feel good. Not entirely different, which I guess just says my system didn't need too much flushing out. However, I did lose about 2 pounds. I'll take it.

The challenging part was not hunger, surprisingly. I expected to be hungry all the time, but all the juice and smoothies I was drinking definitely kept me nourished. Also, I expected to spend a lot more time in the bathroom. This was not the case, but I won't go into further detail there. If you really want to know those details, you can ask me privately.

What was challenging were the cravings: knowing I couldn't have that cheeseburger made me crave it all the more, when I normally wouldn't think about it so much.

Interested in doing a cleanse yourself? Either you can spend hundreds on an expensive juice delivery service or do it yourself with store-bought juice and a few ingredients for about 20 bucks. There's not too much prep work involved, actually. See below for how I did it.

Note: I am in no way a doctor and therefore I can't advise you to do this. Though it should be completely safe and I didn't experience any adverse effects, you should do your research and make sure your body can handle it before you dive into anything.

48-Hour Juice Cleanse

Schedule:
8:00am: Juice 1 - Green Smoothie
10:00am: Juice 2 - Fruit Smoothie
12:00pm: Juice 3 - Green Smoothie
3:00pm: Juice 4 - Spicy Lemonade
6:00pm: Juice 5 - Odwalla Superfood
8:00pm: Juice 6 - Almond Milk

Ingredients:
1 large jug Odwalla Superfood
16 oz. organic lemonade (with agave nectar instead of sugar)
2 15.2 oz bottles Naked Smoothies, or other organic fruit smoothie, whichever flavors you like
16 oz. pure unsweetened almond milk
1 cucumber
2 cups spinach
1 head romaine lettuce
3/4 cup water
2 tablespoons unsweetened cocoa powder
4 teaspoons cinnamon
2 teaspoons vanilla extract
1 teaspoon cayenne pepper

Directions:
1. Get all your supplies together, including the ingredients listed above, a blender and some plastic bottles. I needed enough bottles to take Juices 1-4 to work, and prepared Juices 5 and 6 when I got home.


Making Juice 1 and Juice 3: Green Smoothie
2. Peel, seed and chop the cucumber. Add to blender.


3. Wash and chop the lettuce and add it and the spinach to the blender. Pictured here is the baby bok choy I used instead of lettuce, which I would not advise.

Cabbage + smoothie = yuck. Use lettuce.

4. Add the 3/4 cup of water and blend away!
5. Take 4 plastic bottles and divide the blended cucumber/spinach/lettuce mixture among each. Top them off with the Odwalla Superfood (making sure to reserve two servings for later). Refrigerate until you're ready to drink.

 **You may be wondering why I added more green stuff to Odwalla Superfood, which is already pretty green-looking. The reason is this: even though it is green in color, a peek at the ingredients list shows that it is mostly fruit. By beefing up its green veggie content, we create a more effective cleanse.**

Making Juice 2: Fruit Smoothie
6. The beauty of this step is, there is no step! Because I used store-bought fruit smoothies, the prep work was all done for me. I used Naked's Mango Veggie and Berry Blast.

Making Juice 4: Spicy Lemonade
7. For one serving, mix 8 ounces of lemonade with half a teaspoon of cayenne pepper. Add more if you can tolerate the spice, but don't get heavy-handed: this stuff really scours you out. Refrigerate until you're ready to drink, and make sure to give it a good stir or shake before you do.

Making Juice 5: Odwalla Superfood
8. Similar to the fruit smoothies, this one's already done for you. Just split the remaining Odwalla into 2 servings, enough for each day of the cleanse.

Making Juice 6: Almond Milk (which isn't juice at all)
9. Gotta have some protein, right? To make one serving, pour 8 ounces unsweetened almond milk into a mug and add 1 tablespoon of unsweetened cocoa powder, 2 teaspoons cinnamon and 1 teaspoon vanilla extract. Microwave for 2 minutes and stir well.

Important Notes:

  • A few days before the cleanse, start eliminating alcohol, sugar, meat and dairy from your diet. However, I will say that I had a little bit of chocolate and some goat cheese the day before I started and nothing bad happened to me. But I'd say stop eating meat and alcohol at least 24 hours before. 
  • Drink plenty of water throughout the days you are detoxing.
  • If you need something to chew on, grab some sugar-free gum.
  • If your cravings are distracting you, try to keep busy, like by doing a craft from Pinterest (pictured at right).
  • You can still work out during the cleanse (I did), but stop if you get dizzy.
  • Once the cleanse is over, don't run out and buy a cheeseburger. Give your body a few days to re-acclimate before gumming up the works with too much greasy stuff.
Like I said, I'm not a doctor. But I did try this myself and I'd say it worked pretty well. I might try it again in a few months, or maybe a couple days after Thanksgiving...I'm sure I'll need a detox then!

Good luck, and please feel free to ask questions in the comments.

****
P.S. The day after the cleanse, you may notice that you are as hungry as a bottomless pit. Resist that cheeseburger. Your body will thank you!

Sunday, August 19, 2012

Summer Sunshine Salad

After a several-month hiatus, I'm back! True, it's been quite awhile, but I was in Europe for two months (you can check out my travel blog here), and since I've been back I've been getting settled in my new big-girl job. I know, excuses excuses. However, while I have been remiss about keeping up The Home Skillet, I have definitely been experimenting in the kitchen with new ingredients and new flavors! As an avid pinner, I admit I get a lot of inspiration from Pinterest. But somehow I always manage to put my own twist on things. Which brings me to today's post: Summer Sunshine Salad.

Doesn't this just look like a taste of summer sunshine?

Summer is, alas, coming to a close. But we are still lucky to enjoy all the bounty of summertime, like tomatoes, squash, peaches, cherries and all manner of yummy things. With all these fresh, delicious fruits and veggies around, it's a great time to be going through a bit of a lifestyle change, as I am now: eating healthier, being more active and generally making smarter choices for my body.

I got the idea for this salad from Love and Olive Oil, but, as always, I ended up changing things around a little to suit my tastes. It's still chock-full of nutritious summertime goodies.

Summer Sunshine Salad
Serves: 3 lunch or side portions
Calories: 439

Ingredients:
3 golden beets (or ruby if you prefer)
2 large carrots
3/4 cup dry quinoa (or grain of your choice)
1 1/2 tbsp thyme
2 tbsp basil, chopped or cut into ribbons
2 tbsp olive oil
1 tbsp balsamic vinegar
3 peaches or nectarines
4 oz soft goat cheese
salt to taste

Directions:
1. Peel and chop your beets. This is easier said than done, so be careful with that knife! I chopped them into fairly small pieces.
Not the easiest vegetable to peel...
2. Chop your carrots into similarly sized pieces and add them to the beets on a cookie sheet. The recipe technically calls for 2 large carrots, but all we had was baby carrots, so I made do. As long as everything is around the same size, it's fine.

This is me trying to guesstimate how many baby carrots makes a big carrot.
3. Toss everything with 1 tablespoon of olive oil and give them a good salt.


4. Pop in the oven at 400 degrees for 25-30 minutes, or until fork-tender.
5. While those are going, prepare your grain of choice (could be farro, wheatberries, brown rice, cous cous, etc.) according to package directions. I had precooked some quinoa, so I just used that.
6. Once your grain is done, toss it with the remaining tablespoon of olive oil, the balsamic vinegar, basil and thyme and salt to taste. Set aside.

Nothing says summer like basil.
7. Now for that sweet, sweet taste of summer: the fruit. You could use either nectarines or peaches, according to your preference or whichever is ripest at the store. I used nectarines, 2 white and 1 yellow. If you're using peaches, you may want to consider peeling their fuzzy skin before adding them to the salad. Then, chop them into 1 inch pieces and add to your bowl of grains.

Look at those beauties!

8. When the beets and carrots are done roasting, add them to the party. Give everything a good toss, and correct seasoning levels if needed.


9. Before serving, crumble some soft goat cheese on top. I love goat cheese, so I was pretty generous with it.
10. Enjoy your big bowl of summer!

All ready to go for lunch tomorrow!
This is a great idea for a lunch to take to work. There aren't really any good places to eat close to my work (your options are White Castle and the Marathon station), so I brown-bag it almost every day. I always try to make sure my lunches are satisfying and healthy, but also have a lot of variety. My parents are on a salad-every-night sort of diet, so lunch is my only time to spice things up. This little taste of summer will be perfect!

What's your favorite summertime food?


Sunday, April 8, 2012

Homemade Trofie Pasta Adventure

Hello there! It has been so long since I last posted, but a lot has been going on. This is one of the first real chances I've had to experiment with some new things in the kitchen. Since I'm home for the long weekend, I decided to have some fun and try something new.

This past Christmas, my boyfriend got me a book called The Geometry of Pasta by Caz Hildebrand and Jacob Kennedy (here's their site). It's a really clever little book that teaches you the fundamentals of pasta, as well as the history behind each different pasta shape, from agnolotti to ziti. For a food nerd, it's fascinating stuff. So since my friend Emily was coming over for dinner, I decided it would be fun to try making our own pasta. I chose one of the simplest handmade pastas in the whole book: trofie (TRAW-fee-ay). It's a short, sort of torpedo-shaped pasta made from a really simple dough. The whole process is fun, straightforward, and yields really yummy results. Mix this fresh homemade pasta with some pesto, and that is one delicious meal. There's just nothing like fresh pasta.

Ingredients:
Semolina flour (#1 durum wheat is best--I used Bob's Red Mill brand)
Water
All purpose flour, for dusting

Equipment:
Wooden cutting board
Food scale
Stockpot

Directions:
1. To make the dough, weigh out 1/3 pound of the semolina flour. If you don't have a scale, I'd say 1/3 pound is just over 3/4 cup. This will make enough pasta for one hungry person or two moderately hungry people.
2. Pour the semolina on your wooden board (or any clean surface, though wood is better) and make a well in the middle of it, thusly:

3. Add 5 tablespoons of room temperature water into the well and pile the flour on top of it to mix together. Keep adding water, tablespoon by tablespoon, until all the flour is incorporated and the dough reaches the correct consistency. According to the authors of The Geometry of Pasta, "The texture of the dough should be soft enough to work (like a stress ball), but dry enough that it won't stick to itself too easily. A good way to test it is to press and smear the dough against a dry wooden surface--if it is easy to do, the pasta doesn't stick to the wood, and the top surface tears and roughens against your hand, the texture is right."


4. Once your dough passes the above test, knead it for a few minutes, cover it with a towel, and leave it to rest for 15 minutes (hint: while you're waiting, this is a good time to make pesto).
5. Now it's pasta-shaping time! Here's a helpful video to get you started. After the dough has rested, break off an egg-sized chunk of it and start to roll it into a thin log shape, just like you were working with Play-Doh.

Once the log is about the width of your pinkie finger (or a 1/2 inch), use a butter knife to cut off short pieces less than an inch in length. They should look like little pillows. Continue until the rest of the dough is used up.


6. Once all your little pillows are cut, throw a little all purpose flour into their midst and dust them around in it, so they don't stick to one another.
7. This is the part where you roll them into a trofie shape. Dust your hands with flour. Take one pillow and hold it right at the bottom of your palm.


Using your other hand, start with the tips of your fingers and, keeping both hands flat but pressed firmly together, slide your top hand down quickly. You might have to rub your palms together more than once to make the right shape (this is where the video is really helpful).


This makes the pasta spiral around itself and make a torpedo shape that is fatter in the middle and tapered at the ends. Repeat this with the rest of the dough. And don't worry if they don't all look perfect...they're homemade!
8. Once all your trofie shapes are made, spread them out flat and let them dry slightly for 20 minutes.


9. Bring a pot of heavily salted water to boil (2 teaspoons of salt per quart of water). Once the 20 minutes are up, throw your trofie in the water and cook them for 5 minutes, or until al dente.
10. Drain, toss with some olive oil and pesto, top with parm, and enjoy!


This is a super-simple way to make your own homemade pasta. You can really taste the difference when it's fresh. Once you get the shaping part down, this recipe is a piece of cake!